
Mounting a wall clock might sound like an uncomplicated job, but precision and perfect positioning demand meticulousness. Understanding how to hang a wall clock on the wall corectly can enhance the aesthetic appeal of any area in your home. This guide will walk you through each step to ensure your clock is hung with accuracy and elegance.
Step 1: Select the Perfect Spot
Before you begin inserting nails into the wall, thoughtfully decide on the location for your wall clock. Consider factors such as legibility, practicality, and aesthetics. Ideally, pick a place where the clock’s hands can be easily seen from different angles, and it amplifies the overall decor of the room.
Step 2: Gauge and Mark the Clock’s Position
Once you’ve identified the ideal spot, it’s time to measure and denote the place where the clock will be fixed. Use a measuring tape to locate the midpoint of the wall or the chosen location. Label this spot using a pencil or painter’s tape.
Step 3: Identify the Appropriate Hanging Hardware
The weight and design of your wall clock will determine the suitable hanging hardware. Most clocks have in-built hooks or brackets for hassle-free installation.
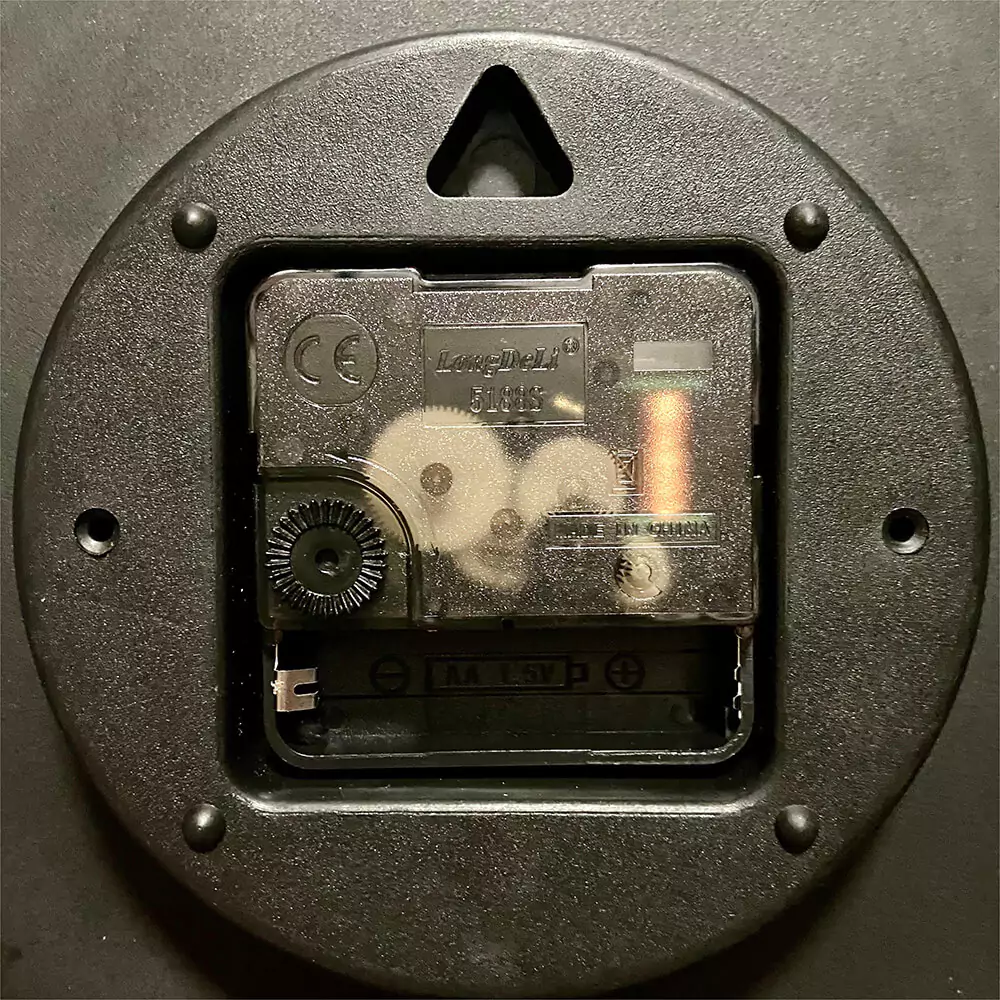
For the majority of round plastic wall clocks, as depicted in the left image, there is a hole at the back, necessitating the purchase of an additional hook by consumers.
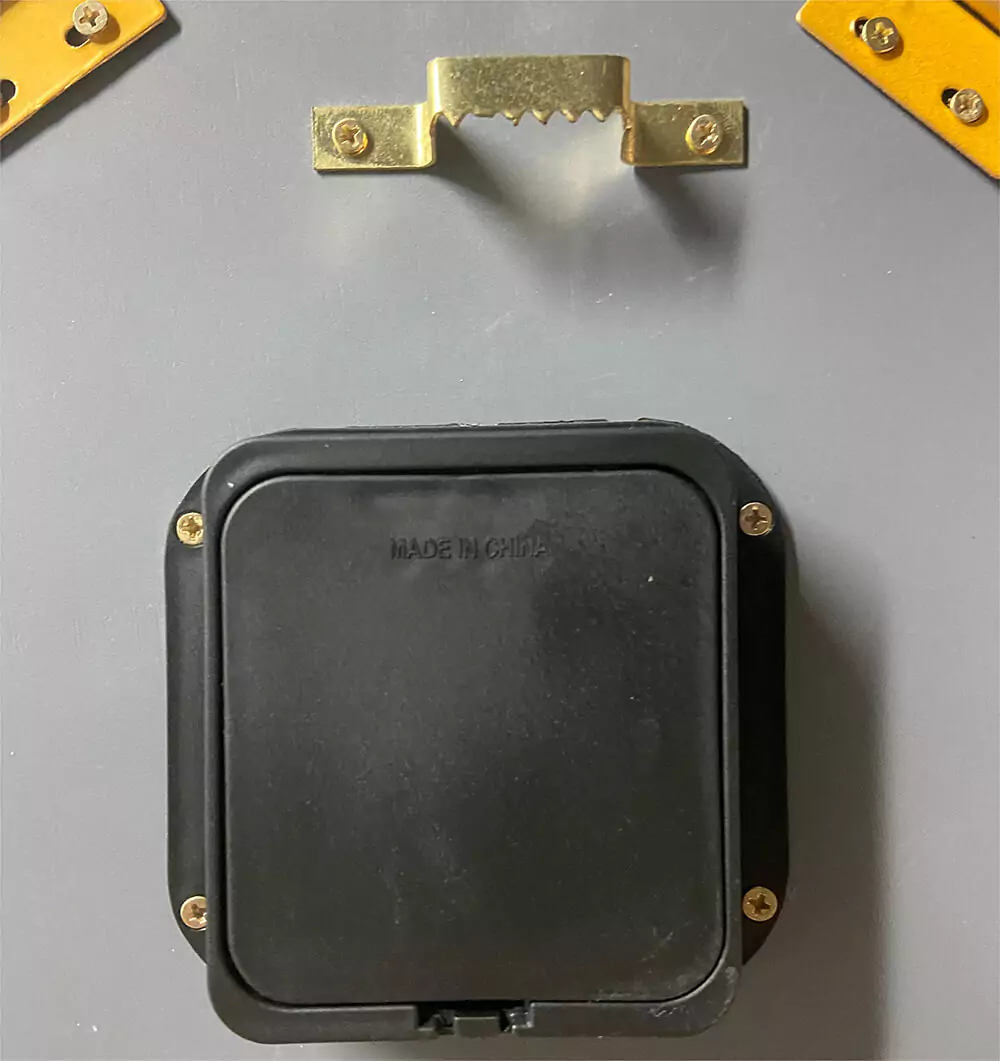
However, every large, creatively designed wall clock at JJT comes with a metal fitting at the back, and each package includes 2 hooks free of charge. No extra hooks are required.
Step 4: Ascertain the Ideal Height
An optimal height for hanging a wall clock is usually at eye level, ensuring easy readability without neck strain. Measure the distance from the floor to the center of the clock and adjust as necessary. Remember to factor in any furniture or obstacles that might influence the location.
Step 5: Mount the Clock
With the marked spots and hardware in place, it’s time to mount the clock. Use a level to confirm that the clock is straight and aligned with the wall markings. Once properly positioned, affix the clock to the wall using the suitable hardware.
Step 6: Check for Steadiness
After mounting the wall clock, give it a light shake to confirm it’s firmly secured to the wall. Make adjustments for stability and balance if it is necessary. If the clock shudders or feels unsteady, reinspect the hanging hardware and verify it’s correctly installed.
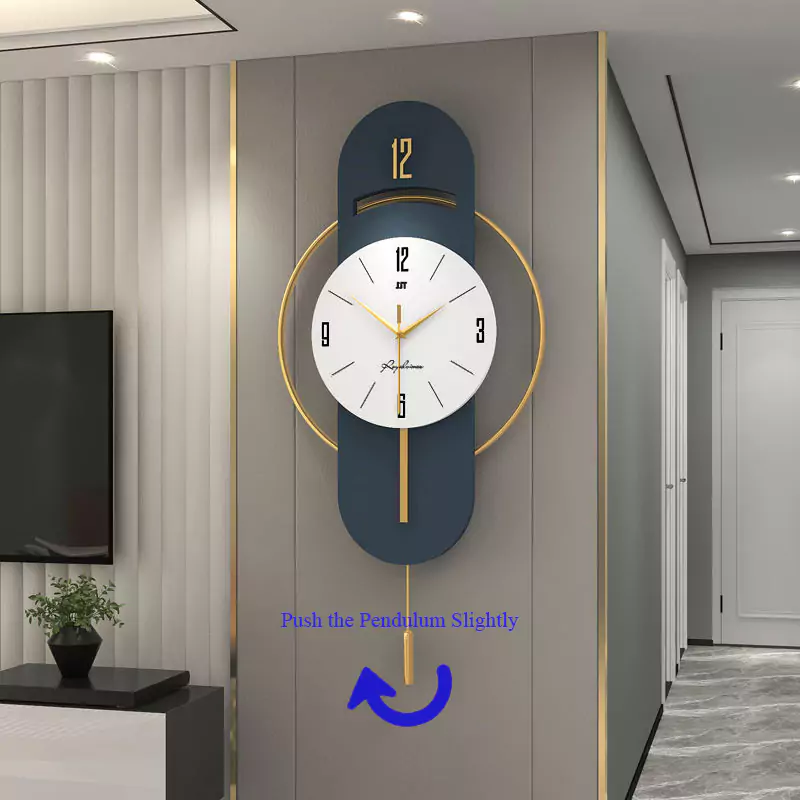
Step 7: Push the swinging part of wall clock
For a pendulum wall clock to start functioning, it’s usually necessary to nudge the swinging component of the clock gently initially. If not, there might be instances when the pendulum doesn’t swing. A little push can help set the motion and ensure the correct operation of your pendulum wall clock.
While hanging a wall clock may seem like a basic task, meticulous attention to detail is essential for a seamless result. By adhering to these step-by-step directions, you can guarantee your clock is hung with precision and elegance, adding a touch of charm and practicality to any room. So, go ahead and adorn your walls with a tastefully mounted wall clock, providing the perfect finishing touch to your space.